This is a photography teaching blog post, a photo quiz, and a trip report from a photo field trip I led in Northern Vermont October 2, 2011. A small group braved occasional rain without complaint as we photographed whatever struck our fancy in Peacham, Danville, Groton, East Topsham, East Orange, and Bradford, Vermont. Here I show some photos taken during the trip and ask questions about them. Some are easy, others a bit more difficult. My answers are near the bottom of this post, just above the slide show. You will learn more if you try to answer the questions before you look at my answers.
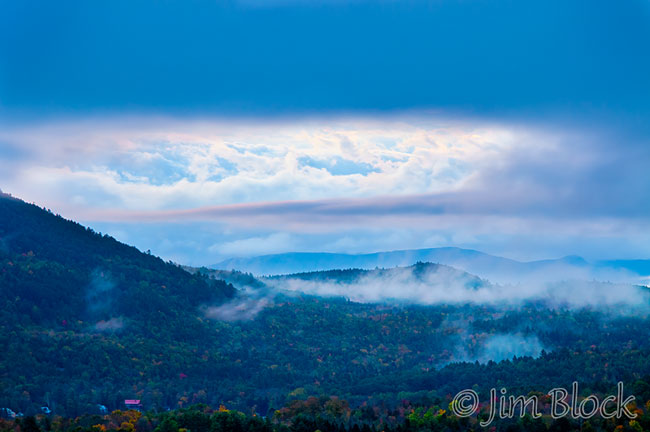
Well before dawn I took this photo through my car window after crossing the Ledyard Bridge from Hanover to Vermont. I shot this at 1/60 sec, f/4 and ISO 3200. Normally if one sets their point-and-shoot camera to a high ISO the image is very noisy. But the image below doesn’t reveal much noise.
1. What is noise and how many reasons can you list to explain the apparent lack of noise in this image?

In Peacham as the day grew lighter, I took this pair of photos. The left photo is “straight”, basically what one might get shooting auto everything.
2. How did I produce the right photo? (No Photoshop is involved.)

The pair below shows an attempt to get everything from close to the camera to far away sharp. As you know, if you focus on a close-up ladybug or any other subject with a lot of magnification, depth of field is limited, even at f/22. The left image is about as good as I could do at f/36. The ladybug is less than tack sharp and the background is quite soft. But there is sharpness throughout in the right image.
3. Where did I focus for the left photo and how did I produce the right image?

Nearby I made this pair of photos.
4. What did I do to produce the more-pleasing version on the right. (No Photoshop is involved.)

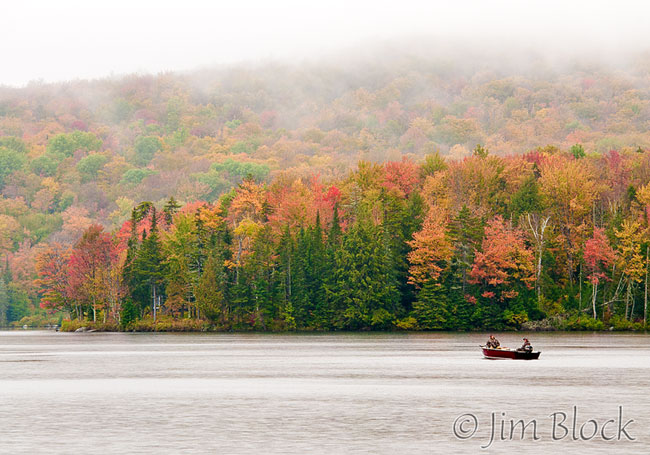
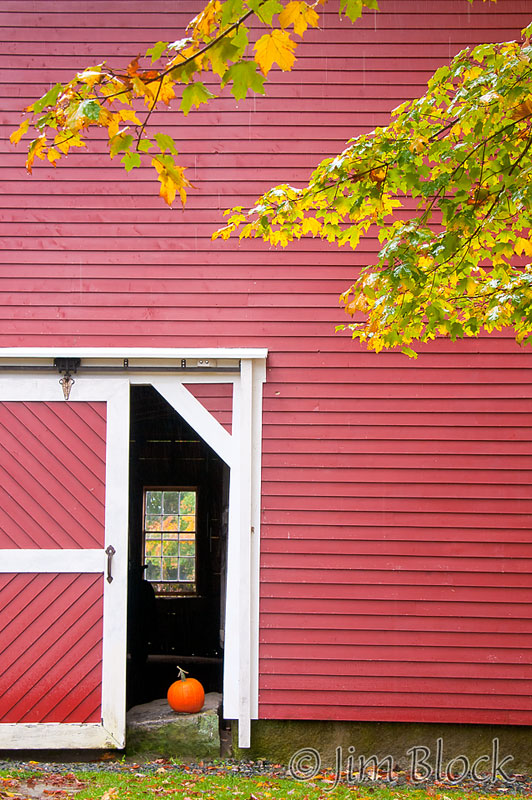
Becky spotted a pumpkin in a barn door begging to be photographed. So after visiting Martins Pond and photographing fishermen and a pair of loon in the fog, we went back to photograph the scene she saw. Here are two photos I took.
5. How did I put the window in the back of the barn in the right one? (No Photoshop is involved.)

In Groton I made the pretty terrible top photo seen below.
6. How did I make the bottom image of the same scene? (No Photoshop is involved.)

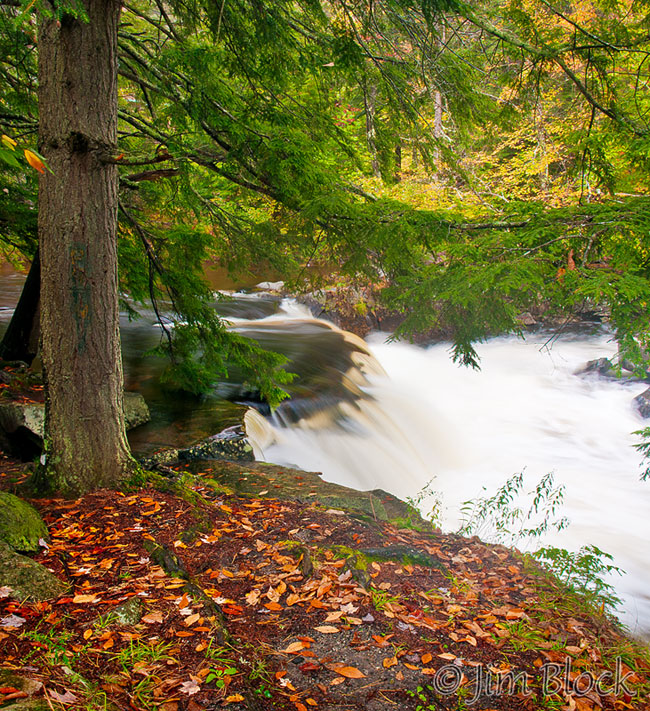
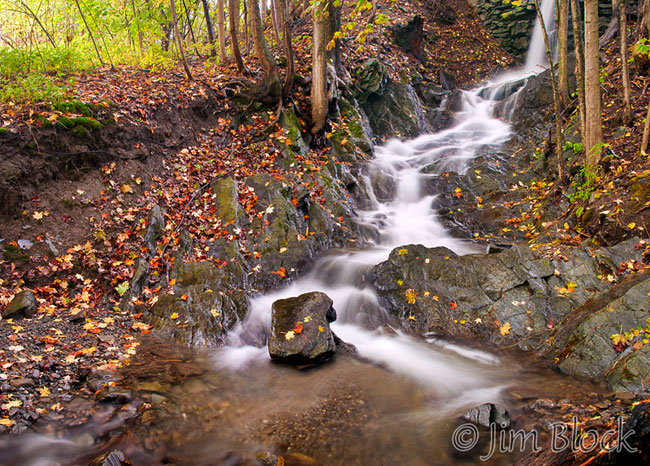
Finally, this pair was photographed at a side falls of the Wells River in Bradford.
7. How did I produce the more pleasing bottom version? (No Photoshop is involved.) Also, what shutter speed did I use? Did I use a tripod?

Answers to Field Trip Quiz Questions
1. Noise is random “wrong” pixels that have the appearance of grain in film. It can be caused and accentuated by a number of factors. It is always present to some degree but made worst by amplifying the signal as happens when one increases the ISO above the base ISO for the camera or lightens an image in Photoshop. Point-and-shoot cameras—especially those that needlessly squeeze way too many photosites onto their sensors because a large megapixel rating sells—have a much more severe noise problem than DSLRs since their sensors are much smaller than DSLRs and each photosite captures much less light and hence has to be amplified much more.
The night photo appears to have little noise because of a number of factors: a) The photo was shot with a DSLR with fewer pixels than many point-and-shoots and much larger photosites than any of them. b) I reduced the noise during RAW processing with Adobe Camera Raw (ACR) in Bridge. (Bridge and Lightroom share the same ACR processing engine, but I much prefer Bridge for a number of workflow reasons. The newest ACR version now has excellent noise reduction tools, though thirds-party software is better for processing the final version of an optimized image.) c) A secondary reason is that when one reduces the image resolution, as happens for a web insertion, many pixels are “blended” together which tends to hide the noise. The image you are looking at has only about 2% of the original number of pixels in the image so each 50 pixels got “averaged” into a single pixel for the web version.
2. I used a flash for the photo on the right. But I needed to do more than just pop it up. I set the camera Exposure Compensation (EC) to -3 to underexpose the background and I set the flash EC to +3 to correctly expose the flowers. Some cameras default to a “party flash” mode in dim light causing indoor photos to have a black background like this. But outdoors with bright light one has to work to darken the background—something normally not desired.
3. The photo on the left is the best I could do with a single exposure. I closed the lens all the way down to f/36 and focused manually a bit behind the lady bug. For the right image I took two photos each at f/10, one focused on the ladybug and the other on the distant scene, and combined them in Photoshop.
4. Shielding the rosa rugosa from the overcast sky would have been a real challenge. I simply used a polarizing filter for the image on the right.
5. This one was easy, I simply moved a bit to the right for the second photo.
6. To get the bottom photo I zoomed my lens during the exposure.
7. I used a polarizing filter for the bottom 2.5 second exposure taken on a tripod.
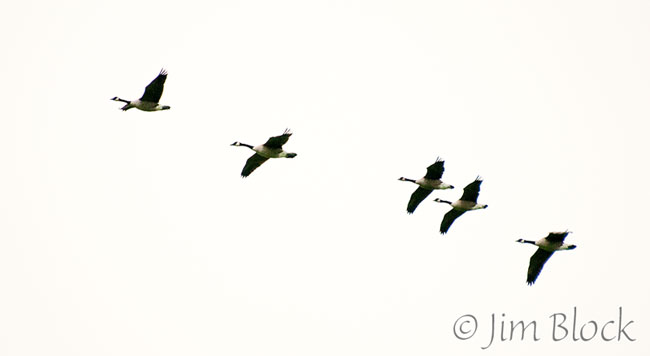
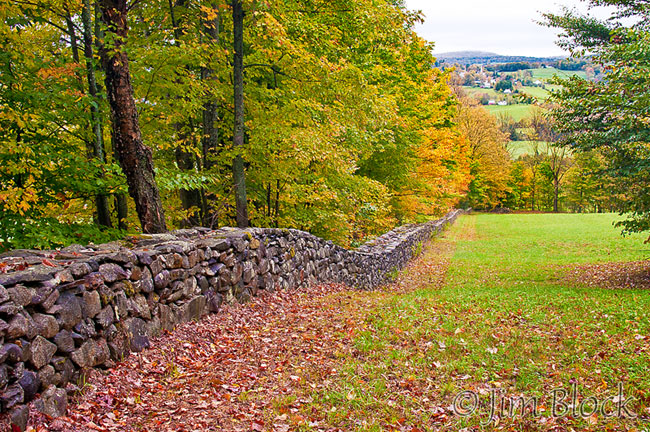
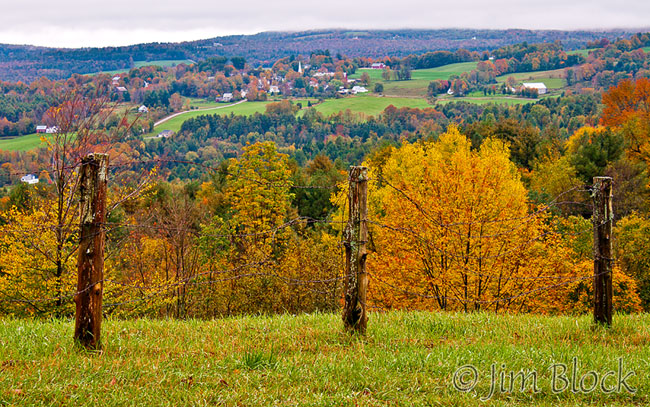
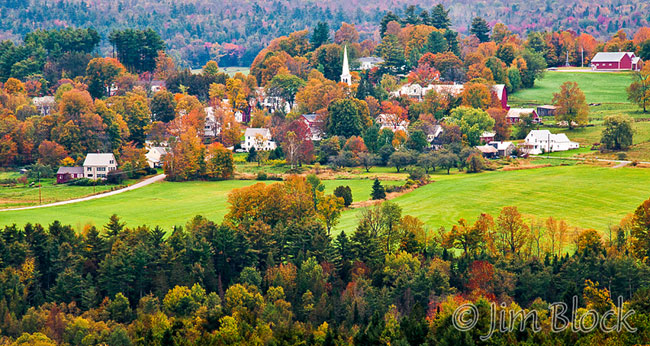
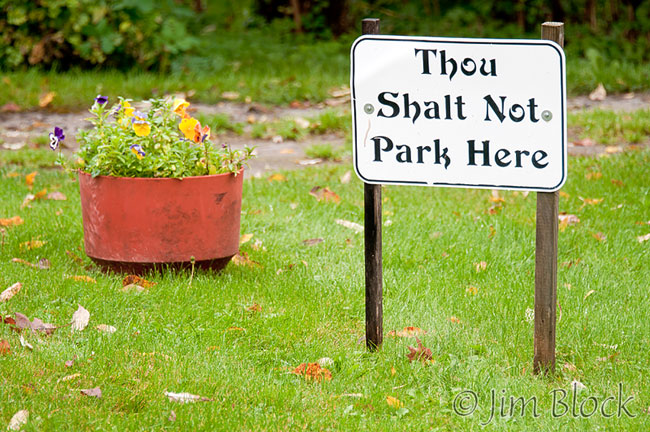
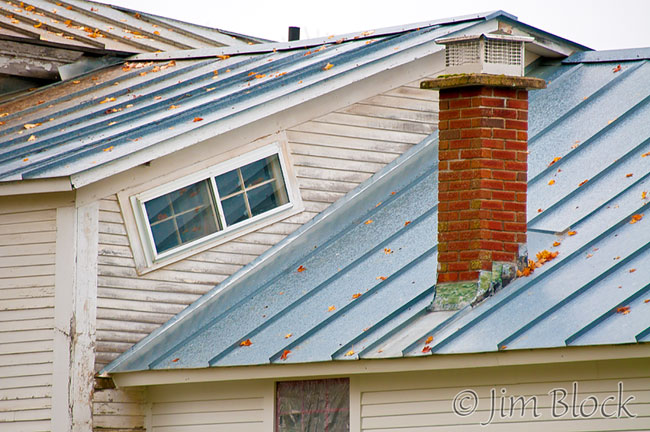
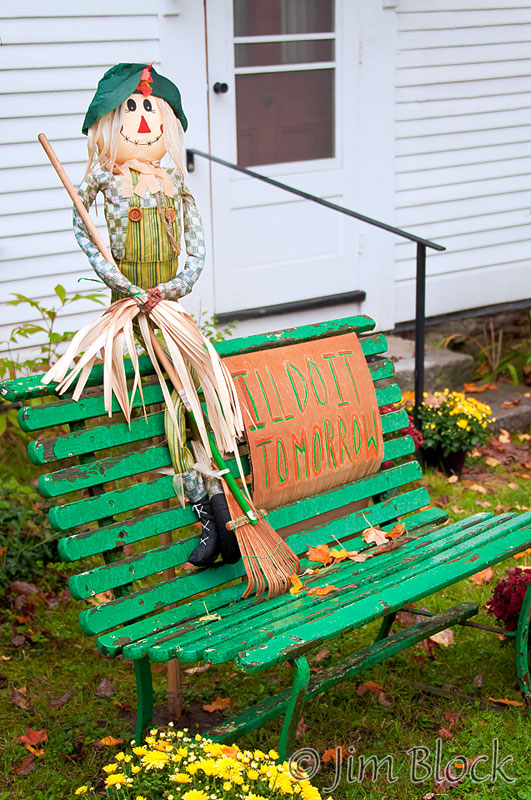
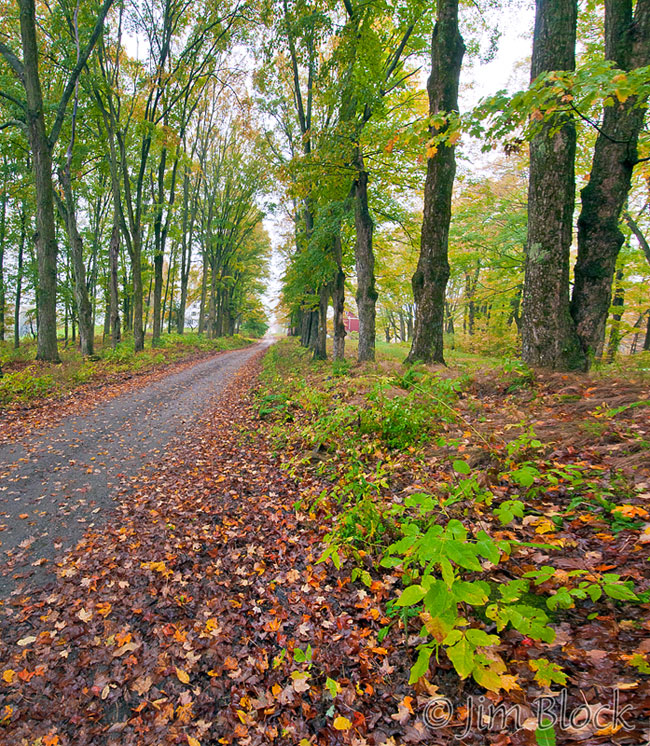
As a reward for making it this far, here is a slide show of some of the photos I took during this trip. I enjoyed showing folks a nice part of Vermont, helping them a bit with their photography, and in general just being out in nature, even on a less-that-perfect-weather day.