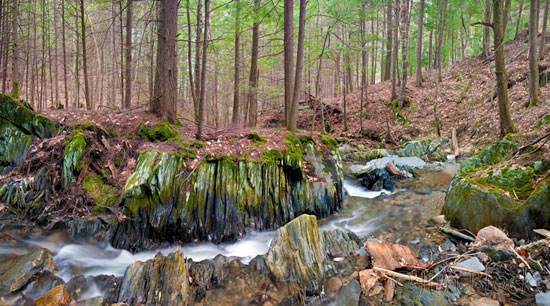
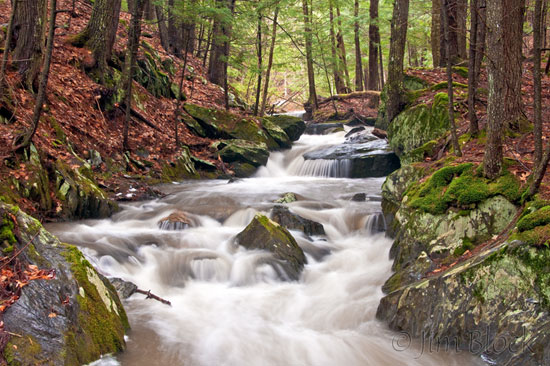
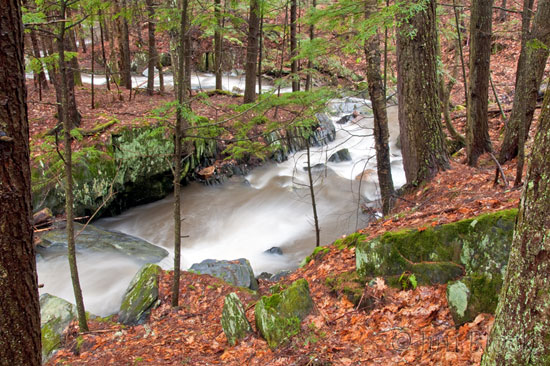
I again challenged myself by photographing the assignment I gave to my Photo–SLR class for homework this week. In doing so I “discovered” a fun spot less than three miles from my home. I also used this opportunity to make new images I could use to illustrate this week’s class topics. A brief summary is below. If you want the full version I urge you to sign up for my course announcements and take a course or two.
The main topics I touch on here are:
- Timing matters. A day later, an hour earlier, or sometimes a minute can make a lot of difference in the images you get.
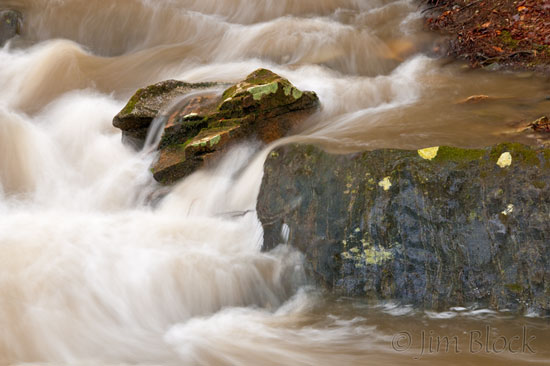
- A slow shutter speed (long exposure) can produce nice images of moving water. But you need to use a tripod, electronic release or self-timer, and mirror lockup (if you have it) to get the sharpest image of the non-moving elements.
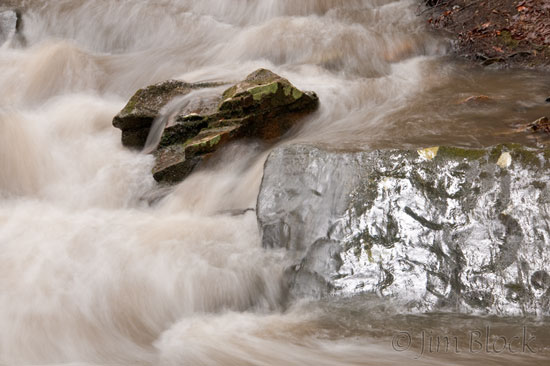
- A polarizer is very useful for controlling reflections and it also allows about a factor of four longer exposure.
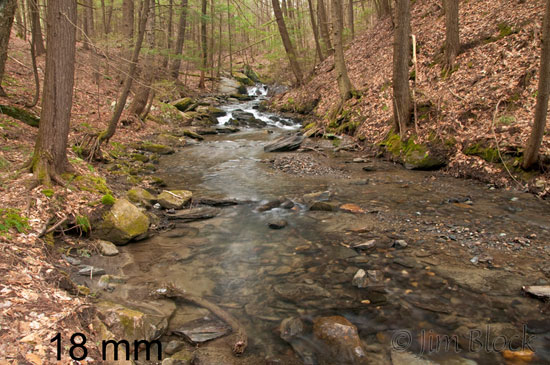
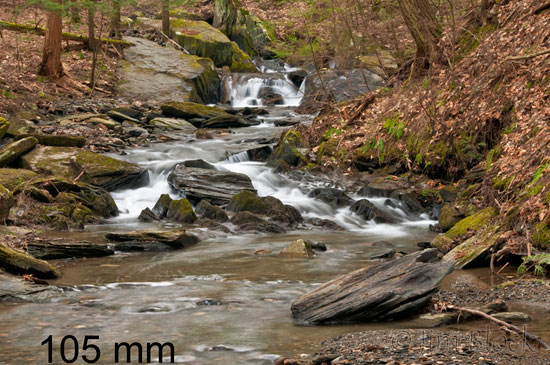
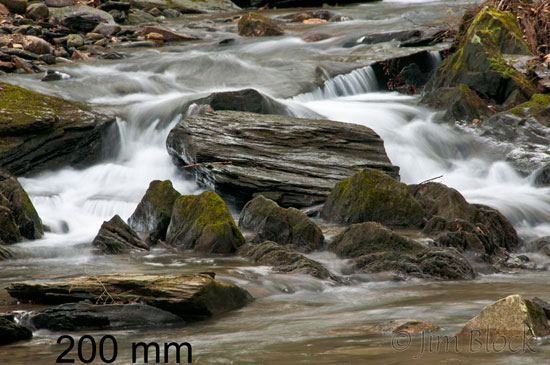
- If you want to change the perspective you must move. You cannot change the size relationship of elements in the photo by simply zooming your lens.
- Digital photography has opened the world of very large and detailed panoramic images to mere mortals. And they are fun.
I went down the road to Hardy Hill Brook an area conserved by the Upper Valley Land Trust, just over the border in Lebanon, two days in a row. Between my photo sessions, we got a bunch of rain. So the placid brook the first day was running full the second. Rocks in the brook I stood on to make images were submerged the second day. You can examine the images here and the panoramas I made to see the difference a day made.
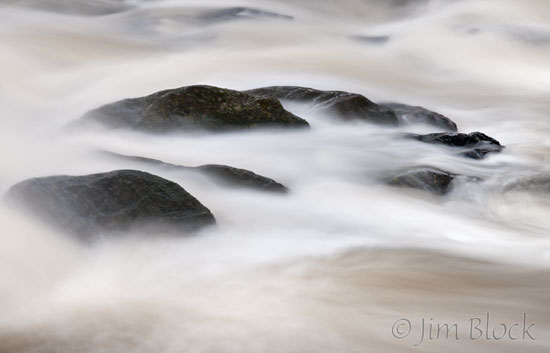
Below is a pair of images taken looking in the same direction before and after the rain. You can see from the images here that I used a slow shutter speed to blur the moving water. I normally prefer a soft blur of the moving water to what I might get freezing the motion with a fast shutter speed. For the images in this blog I used an exposure between 0.3 and 3 seconds.

The following two images illustrate the use of a polarizing filter to control glare. Simply rotating the polarizer gave me the two different images below.
The next three images were taken from the same spot with different focal lengths. The perspective, defined as the size relationship of different objects in the image, did not change. The 200mm version is identical in perspective to a cropped version of the 18mm image. In order to change perspective you must move your feet.
For the following image I moved very close to the large rock and used a wide angle lens. Now the perspective is different from the preceding three images.
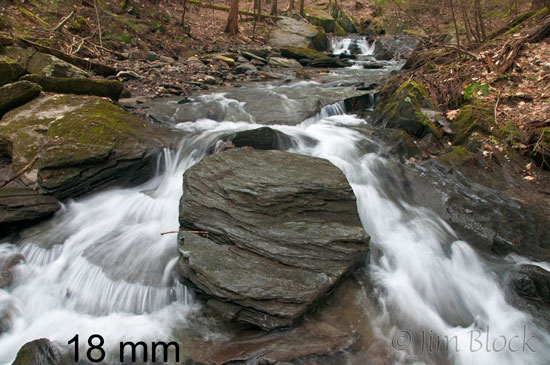
When I made the image above, I was balancing on some flat rocks that were oriented vertically. These same rocks are seen in the image below taken the next day.
I conclude with three images. If you click on any of these three you will be taken to a page of panoramic images I made along Hardy Hill Brook the two days. You can zoom in and examine details and see better the difference a day made.

